Chapter 5 / 28
Storing Your First Secret
HashiCorp Vault For Beginners5 min read
Up until now, we’ve danced around Vault. You installed it, initialized it, logged in… but what good is a vault if it doesn’t store secrets?
In this chapter, you’ll:
- Log in using the CLI
- Enable the KV (Key-Value) secrets engine
- Store your first secret
- Retrieve it
- Delete it
Now, let’s attach to the Vault container using the following command:
docker exec -it vault-dev /bin/sh
Step 1: Logging In to Vault
After initializing Vault, you received a root token — a powerful key that gives full access.
Use it to log in via CLI:
vault login <your-root-token>
If successful, Vault says:
Success! You are now authenticated.
From now on, any Vault commands you run will use this authenticated session.
Step 2: Enabling the KV Secrets Engine
Vault doesn’t store secrets by default. You must first enable a secrets engine, which is a logical backend for secret storage.
We’ll enable the basic KV (Key-Value) engine. This version is KV v1 — a simple key-value store with no versioning.
vault secrets enable -path=secret kv
This mounts the secrets engine at the path secret/. That means any secrets stored under this engine will live under the prefix secret/.
What’s a “path”?
Vault organizes secrets into paths — think of them like folders.secret/myappis one such path. We’ll dive deeper into path structures and access control in a later chapter.What about KV v2?
KV v2 is the versioned version of this engine. You can store multiple versions of secrets, roll them back, and see edit history. We’ll explore KV v2 in a later chapter. For now, we’re sticking to the simpler KV v1 for clarity.
Step 3: Storing a Secret (KV Put)
Let’s store a simple username and password.
vault kv put secret/myapp username=admin password="S3cr3t!"
This creates a secret at the path secret/myapp with two fields: username and password.
Expected output:
Success! Data written to: secret/myapp
No versioning here — if you overwrite the secret, the old one is gone.
Advanced Options:
Vault supports multiple flags like-mount,-cas, or-format, and you can structure your values using JSON too. We’ll explore these options later when we go deeper into customization.
Step 4: Retrieving a Secret (KV Get)
To read the secret back:
vault kv get secret/myapp
You’ll see:
====== Data ======
Key         Value
---         -----
password    S3cr3t!
username    admin
You can also fetch raw JSON and the output will be like below
vault kv get -format=json secret/myapp
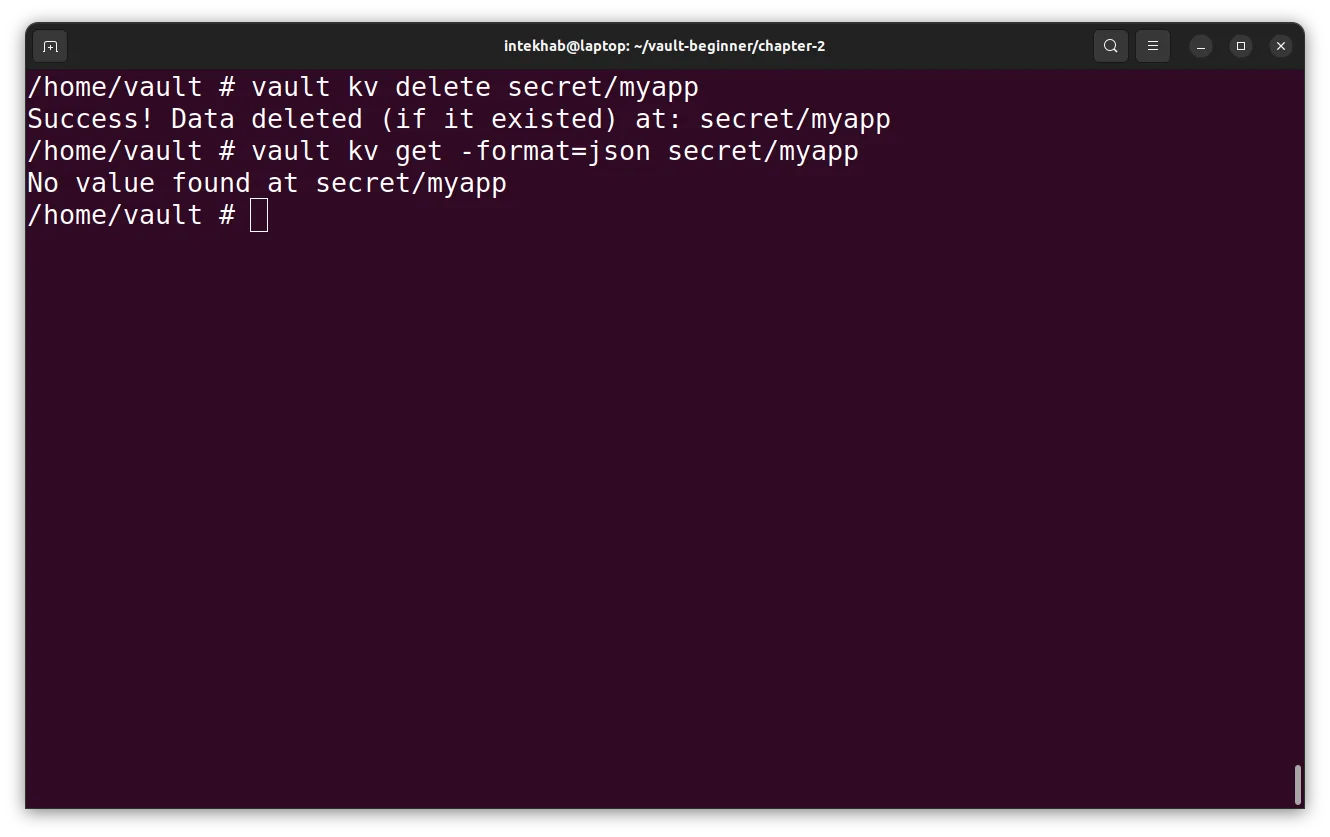
Step 5: Deleting a Secret (KV Delete)
To permanently delete a secret from KV v1:
vault kv delete secret/myapp
There’s no trash bin or versioning here — once it’s gone, it’s gone.
In KV v2,
deleteonly marks secrets as deleted — they can still be recovered. But in KV v1, deletion is permanent. Choose carefully!
Let’s write the data back into Vault, as we’ll need it in the upcoming chapter:
vault kv put secret/myapp username=admin password="S3cr3t!"
This ensures that the necessary secrets are available when we reference them later.
Recap
You just completed your first real Vault workflow:
- Logged in using the root token
- Enabled the KV (v1) secrets engine
- Stored a key-value pair
- Retrieved it
- Deleted it
You also got your first taste of Vault paths and engines — two fundamental concepts we’ll build on in upcoming chapters.